Owning a tough off-road caravan like an Explorer is only half the battle – the other half is maintaining it. Experienced travellers know that preventative maintenance is the key to avoiding breakdowns in the middle of nowhere. Off-road caravans take a beating on corrugations, dust, mud and harsh UV, so giving your van a little TLC will ensure it’s always ready to roll on the next adventure. In this guide, we cover off-road caravan maintenance tips for before, during, and after your trips. A well-maintained rig not only keeps you safer on the road, but also protects your investment for years to come.
Pre-Trip Checks: Don’t Hit the Dirt Unprepared.
Before each off-road journey, set aside time for a thorough check-up of your caravan and tow vehicle. Create a checklist (and actually use it!). Key items to inspect include:
Tyres & Wheels: Make sure tyres are in good condition with no cracks or unusual wear. Off-road work can delaminate cheap tyres fast. Inflate to appropriate pressures for highway driving, but be ready to adjust (lower) when you reach dirt roads. Don’t forget the spare tyre – is it aired up and accessible? Also torque your wheel lug nuts to the correct spec (they can work loose with constant vibration).
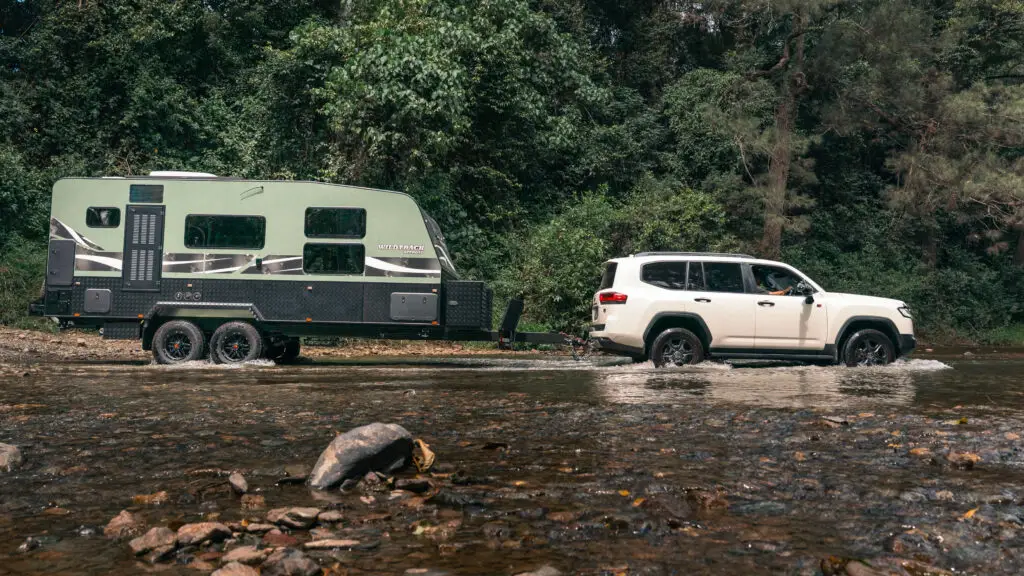
Brakes, Bearings & Suspension: Check your caravan’s brakes are working properly and brake controller is calibrated. If it’s been a while, consider repacking or inspecting wheel bearings – water crossings and dust can degrade the grease. Crawl under and look at your suspension: are there any shocks leaking oil, cracked leaf springs, or loose bolts on control arms? Off-road caravans typically have beefy independent coil or air suspensions (like the Cruisemaster systems on our Explorer RV models) – they’ll treat you right if you keep them maintained. A quick spanner check on the suspension and chassis mount points can save you big troubles on corrugations.
Lights & Electronics: Test all your lights (indicators, brake lights, reversing lights, etc.) since rough roads can rattle connectors loose. Secure the battery and top up water in lead-acid batteries if applicable. If you have solar panels, give them a clean so you’ll start the trip with maximum charging efficiency. Ensure your off-grid electrical system is functioning – you don’t want to discover a faulty inverter or blown fuse when you’re hours from civilization.
Water & Gas Systems: Fill your water tanks to the brim (and test that the pump and taps are working with no leaks). It’s easier to fix a leaky hose in your driveway than out in the bush. For gas, check that your bottles are full and secured, and that the regulator and lines are in good shape (no cracks or perishing). Turn on each gas appliance (stove, heater, hot water) briefly to ensure they ignite and work properly before you leave.
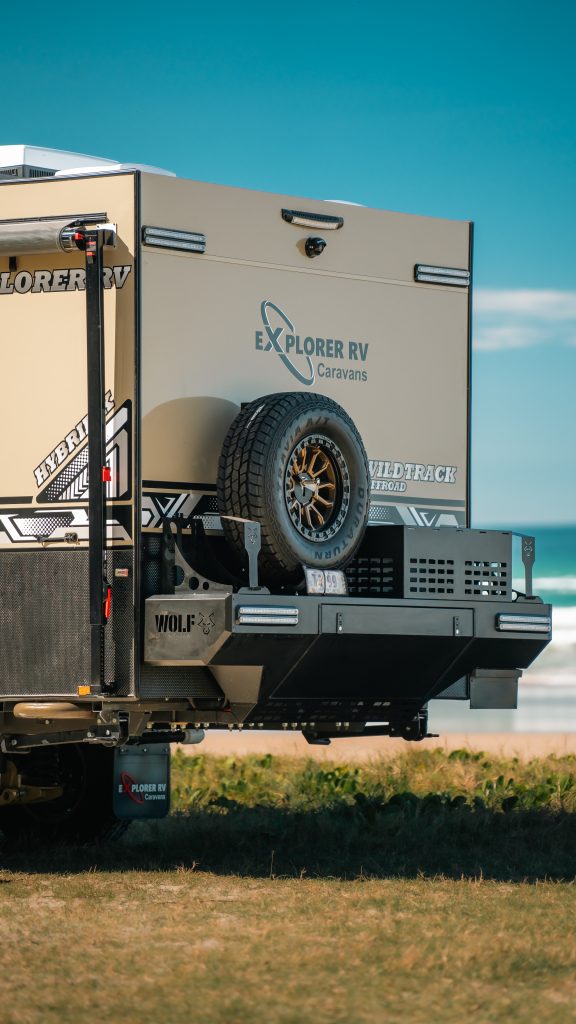
General Body & Gear: Walk around the caravan and tighten any loose screws, bolts, or latches. Pay special attention to storage box lids, the spare wheel carrier, bumper bars, and steps – off-road vibrations love to shake things apart. Lubricate hinges and moving parts. Inspect the seals around windows, doors, and roof hatches for any gaps or damage – re-seal with silicone or replace seals if needed, to keep dust and rain out. Lastly, double-check that items like your jockey wheel, towing mirrors, and weight distribution hitch (if used) are all properly adjusted and secured.
Maintenance on the Road
While you’re out adventuring, a bit of routine check can catch developing issues early. Each morning before you set off from camp (especially after rough travel the day before), do a quick walk-around inspection. Look for anything unusual: a tyre starting to look soft, a fresh oil drip, a light out, etc. Listen for changes as well – if you hear a new squeak or rattle on the drive, don’t ignore it. It could be a loose U-bolt or shock absorber eye. When you stop for breaks, feel your wheel hubs – warm is normal, but very hot hubs could indicate a failing bearing or dragging brake. Also, periodically peek under the van to ensure sticks or debris haven’t wedged themselves in damaging places (we’ve seen branches jammed in brake lines or dangling wires from scrub hits). If you’re travelling in convoy or with a partner, a good habit is to have someone follow behind for a few kilometers to eyeball your rig in motion – they might spot a wobbling wheel or suspension issue you can’t see from the driver’s seat. Staying vigilant on the road gives you a chance to fix small problems during planned stops, rather than dealing with big problems via an unplanned stop!
Post-Trip TLC
Once you’re back home (or at least back to civilization), give your off-road caravan a well-earned cleanup and post-trip service. Start with a thorough wash, including the chassis and underbody – get all that red dust, mud, and salt off before it causes corrosion. A pressure washer or lawn sprinkler under the van can help dislodge caked-on mud from hard-to-reach spots. As you clean, inspect for any damage picked up on the trip: look for dents or cracks in the chassis, A-frame, stone guard and body panels. Check the plumbing lines and fittings underneath – are there any signs of leaks from rock strikes? Spin each wheel and listen/feel for any roughness in the bearings (grinding could mean it’s time to repack them). Grease any suspension grease points (zerks) if your van has them. It’s also wise to drain and flush your water tanks, especially if you collected bore water or suspect any contamination on the road – this prevents algae and funky tastes building up.
Next, address any issues you noted during travel: for example, if you noticed your fridge struggling, now’s the time to have the electrical system tested or upgrade the venting. If a cabinet door came loose, reinforce the screws or latches. Small fixes now will ensure they don’t recur on your next big trip. This is also a good time to service moving parts: adjust your caravan’s brakes if needed, top up fluids in shock absorbers (if they’re the refillable type), and check your caravan’s roof for any new scratches or potential leak points (especially after scraping under low branches). Many off-roaders also take the opportunity to rotate their tyres after a long trip, including the spare, to even out wear.
Upgrades and Wear Items
Off-road travel accelerates wear on certain components – keep an eye on them and be ready to repair or upgrade for durability. Shock absorbers, in particular, cop a hiding on corrugations; they may need replacement more frequently than on-road vans. Bushings in the suspension and couplings can wear out – inspect for play and replace as needed. Dust seals around your cargo compartments and doors might need upgrading if you found a lot of dust ingress. Likewise, consider installing additional stone protection if you notice peppering or chips, and maybe upgrade to all-terrain tyres or higher load-rated ones if yours showed damage. The off-road caravan community is full of great ideas on toughening up your rig; just be sure any modifications (like shock absorber upgrades or reinforcement welding) are done by a professional or according to manufacturer guidance to avoid warranty issues.
Carry a Basic Spares Kit
When you’re handy and prepared, many potential “breakdowns” can be fixed on the spot, turning a trip-ender into just a half-hour delay. We recommend putting together a kit of spare parts and tools tailored to your caravan. Some useful spares for off-road trips include: extra wheel bearings and grease, a set of wheel studs and nuts, spare fuses and bulbs, coolant and engine oil (for your tow vehicle), an assortment of nuts, bolts and screws that fit your caravan’s fixtures, duct tape and zip ties, sealant for emergency leak fixes, and perhaps a spare set of shock absorber bushes. Of course, you’ll need tools to install these – at minimum bring a good tool set with screwdrivers, pliers, adjustable spanners, socket set, a torque wrench (for wheel nuts), a jack and wheel chocks, and a tyre repair kit (plugging a puncture could save you using your spare). We’ve written before about must-have gear for off-road caravanning – from recovery tracks to compressors– so make sure you’re equipped for the journey. The goal is to be as self-sufficient as possible.
Schedule Professional Check-Ups
Lastly, even the most avid DIY maintainer should get a professional service on their caravan periodically. At least once a year (or every 10,000 km of towing), book your rig in with a caravan service center for a thorough inspection. They’ll check things you might miss – from gas system pressure testing to chassis bolts torque and alignment of axles. Professional servicing is especially important if you’ve done an exceptionally tough trip (e.g. the Canning Stock Route or Gibb River Road). Think of it like a doctor’s check-up for your home-on-wheels. It’s also wise to inspect your caravan’s warranty and service schedule – missing a required service could affect coverage, so keep those records up to date.
By following this maintenance guide, your off-road caravan will remain as trusty as the day you bought it. A bit of elbow grease before and after trips goes a long way to prevent mishaps out bush. When your caravan is well-maintained, you can roam wild Australia with confidence, knowing your gear can handle the challenge. So tighten those bolts, grease those bearings, and bring on the next adventure – a tough caravan in tip-top condition begs to go further off the beaten path!